Everything to Know about A Leaky Faucet
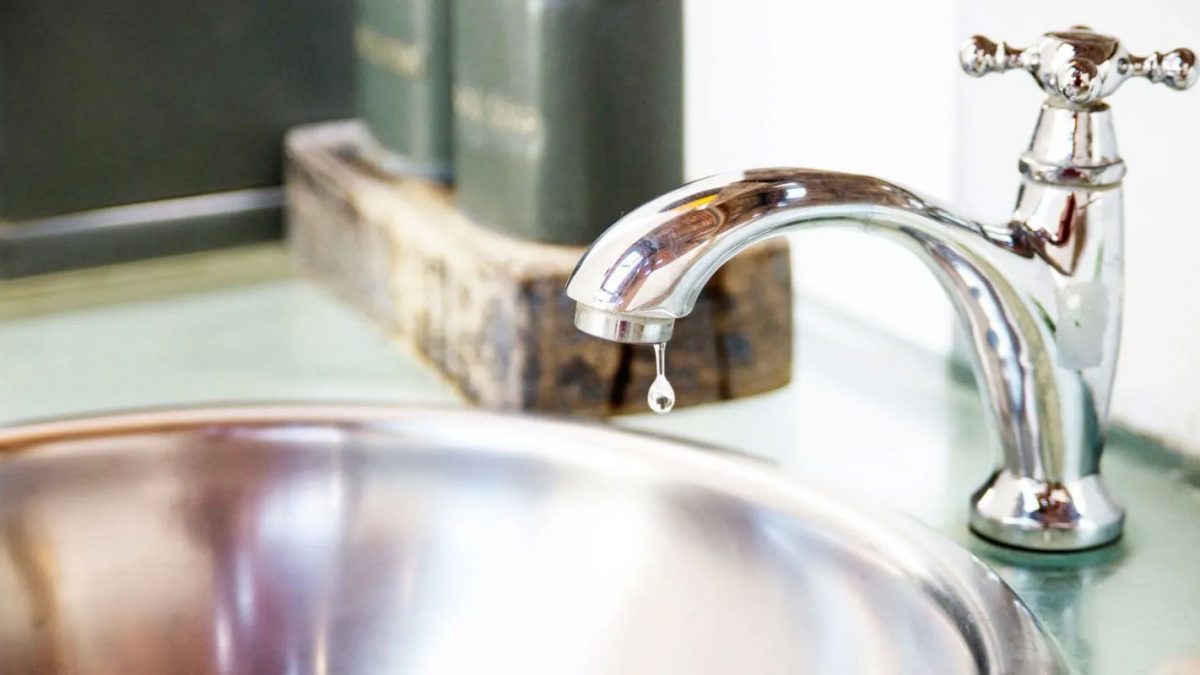
Leaky faucets are a common household problem that may seem like a minor annoyance but can lead to much bigger issues if left unaddressed. A dripping faucet not only wastes water—one drip per second can waste over 3,000 gallons of water per year—but can also increase your utility bills and cause long-term damage to your plumbing system.
In this guide, we’ll walk you through everything you need to know about leaky faucets: from the common causes and the types of faucets that tend to leak, to step-by-step solutions for fixing them and tips on preventing leaks in the future. Whether you’re a DIY enthusiast or simply trying to figure out when to call a plumber, this post will provide the essential information you need.
Common Causes of a Leaky Faucet
Understanding the reasons behind a leaky faucet is the first step in fixing it. Here are the most common causes of faucet leaks:
1. Worn-Out Washers
Washers play a critical role in ensuring a tight seal in compression faucets, which use a valve to control the flow of water. Over time, these rubber washers can wear out due to constant friction, leading to a leaky faucet. When this happens, you’ll often notice water dripping from the spout.
2. Damaged Cartridge
In cartridge-style faucets, which control both temperature and flow with a single handle, a faulty or damaged cartridge can result in leaks. This part typically wears down after long-term use and will need to be replaced to stop the leak.
3. Loose or Worn O-Rings
O-rings are small rubber seals located at the base of the faucet handle, and they prevent water from leaking around the handle. If the O-ring becomes loose or worn out, water can leak from this area. This is particularly common in cartridge faucets.
4. Corroded Valve Seat
The valve seat connects the faucet to the spout, and if it becomes corroded due to mineral deposits from hard water, it can cause leaks around the spout area. Regular cleaning and maintenance can prevent this issue, but once corroded, the valve seat may need to be replaced.
5. High Water Pressure
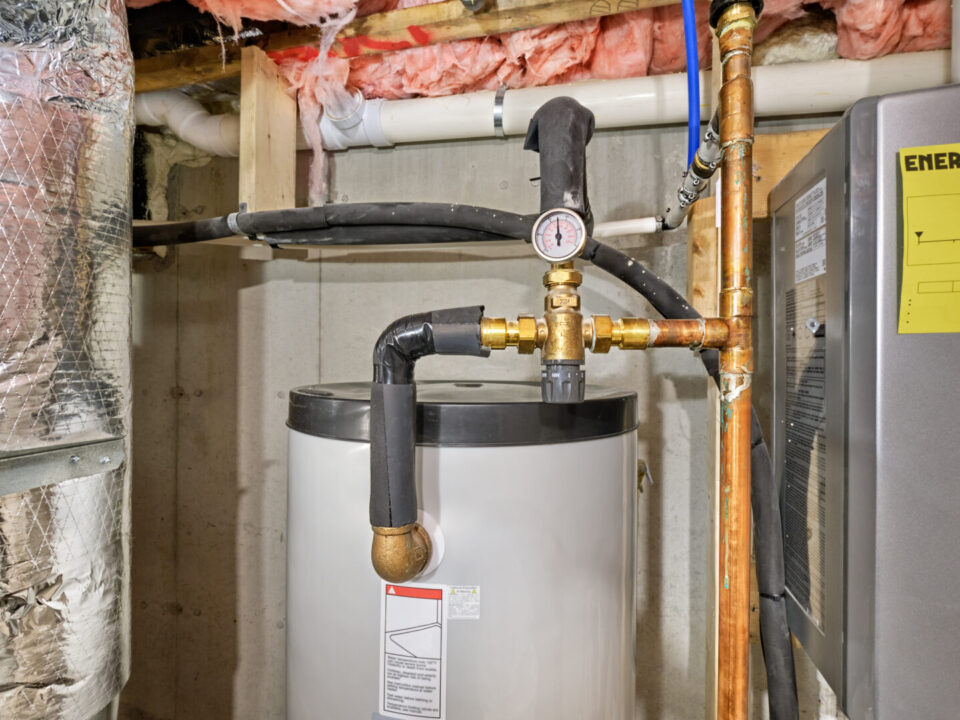
Excessively high water pressure can strain your plumbing system and result in faucet leaks, especially during specific times when water isn’t being used elsewhere. You might notice intermittent leaks, such as when using other plumbing fixtures like the dishwasher or shower.
6. Worn Seals
Seals around the faucet are essential for ensuring that no water leaks through the moving parts of the system. Over time, these seals can wear out due to normal wear and tear, causing water to drip.
How to Fix a Leaky Faucet: Step-by-Step Guide
The good news is that many leaky faucet issues can be resolved with some basic tools and a little know-how. Here’s a step-by-step guide on how to fix some of the most common types of faucet leaks.
Tools You’ll Need:
- Adjustable wrench
- Flat-head screwdriver
- Phillips-head screwdriver
- Replacement parts (washers, O-rings, cartridges)
- Plumber’s tape
- Silicone grease
1. Turn Off the Water Supply
Before you start, make sure to turn off the water supply to the faucet. You can usually do this by turning the shut-off valves located under the sink. Turn the handles clockwise until the water flow stops.
2. Plug the Drain
To avoid losing small parts down the drain, use a sink plug or cover it with a rag.
3. Disassemble the Faucet
Depending on the type of faucet you have, the disassembly process will vary:
- For compression faucets, use a screwdriver to remove the handle, then use a wrench to unscrew the packing nut.
- For cartridge faucets, remove the handle and pull the cartridge straight out.
4. Inspect the Parts
Check all components for signs of wear and tear, including washers, O-rings, and cartridges. If any parts look damaged or worn, replace them.
5. Replace Damaged Parts
Replace any faulty components with new ones. It’s a good idea to take the old part to your local hardware store to ensure you’re getting the correct replacement.
6. Reassemble the Faucet
Once you’ve replaced the worn parts, reassemble the faucet in reverse order of disassembly.
7. Test the Faucet
Turn the water supply back on and test the faucet to ensure it’s no longer leaking. Let the water run for a few minutes and check for any signs of dripping.
When to Call a Professional Plumber
While fixing a leaky faucet is often a DIY-friendly task, there are situations where calling a professional plumber is the better option:
- Persistent Leaks: If your faucet continues to leak after you’ve replaced the damaged parts, there may be a deeper issue within the plumbing system.
- Hard-to-Reach Areas: If the leak is located in a hard-to-reach spot or involves more complex disassembly (such as with wall-mounted faucets), it’s best to get professional help.
- Corroded Pipes: If you notice signs of corrosion or other significant damage to the pipes or valves, a plumber can assess the situation and recommend the best solution.
- Water Pressure Issues: If you suspect that high water pressure is the cause of your leak, a plumber can install a pressure regulator to protect your system from further damage.
Preventing Faucet Leaks
Fixing a leaky faucet is important, but preventing leaks in the first place is even better. Here are some tips to help you avoid leaky faucets in the future:
1. Regular Maintenance
Routine maintenance can keep your faucet in good condition. This includes cleaning the aerator (the small screen at the end of the faucet) to remove mineral deposits and checking for any signs of wear or corrosion.
2. Use the Faucet Gently
Avoid using excessive force when turning your faucet on and off. Over-tightening the handle can wear out washers and seals more quickly, leading to leaks.
3. Install a Water Softener
If you live in an area with hard water, installing a water softener can reduce the buildup of mineral deposits in your faucet and plumbing system, extending their lifespan.
4. Replace Old Faucets
If your faucet is old and has been leaking frequently, it might be time to replace it with a new, more efficient model. Modern faucets are designed to be more durable and water-efficient.
The Environmental Impact of Leaky Faucets
A leaking faucet may seem like a small problem, but it can have a surprisingly significant impact on the environment. The U.S. Environmental Protection Agency (EPA) estimates that household leaks waste nearly 1 trillion gallons of water each year nationwide. By fixing a leaky faucet, you can reduce your water consumption, save money on utility bills, and help conserve valuable water resources.

Detecting A Leaky Faucet
Typically, there are two places that water can leak: the spout or the base. With a spout leak, water may slowly drip out of the faucet after the water has been shut off. This type of leak drips slowly, eventually dripping into a bigger problem. Placing a paper towel in a dried, turned-off sink for a few hours is an easy way to detect a leak. If the paper is wet, there’s a spout leak.
A base leak occurs primarily when water is running and pools together. To check for a base leak, be sure to dry the base completely and then turn on the water. Keep an eye out for any water leakage from the base onto the countertop.
It’s important to identify which one is affecting your sink. Fixing a spout leak requires different tools and instructions in comparison to a base leak, so the problem area must be identified. If you are looking for a plumbing inspection, contact us today.


